Internet Lesson Plans by Woody Duncan
contact me at mailto:wduncan@kc.rr.com
my web site is http://www.taospaint.com
SELF-PORTRAIT LINOCUT LESSON PLAN
|
STEPS
IN THE PROCESS / BEGIN WITH A GOOD DRAWING
|
|
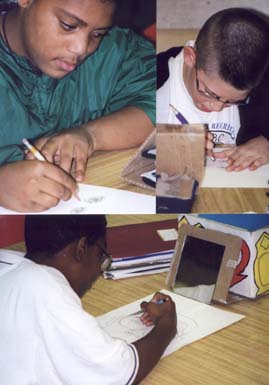
Stephon, Corey and Israel Drawing |
--Create a good self-portrait (use a mirror) --Include things that will look good in a print, hair texture, patterns in clothes, details like buttons, glasses, ribbons, etc. --drawing should fill 6x9 inch image area --Xerox can be used to adjust size of image up or down --use carbon paper to transfer image to linoleum --go over carbon lines with black permanent marker --marker provides a better image to guide carving of plate --darken areas that you want black (good rule is 50% black) |
S
|
Before carving, stress the safe use of all tools |
|
|
--Explain the proper use of the bench hook, the gouges, and how to hold tools to get best cuts in the linoleum and not you --Instruct students to carve away gray areas and to leave the black lines standing (remove everything but the drawing) --It will take some convincing for many students to understand that what they cut away will print white and what they leave will print black --If words or letters are used be sure to explain how to reverse the image so it will print correctly --Explain how some tool marks will show, so carve in the same direction in any one area --When demonstrating the inking and printing of a plate, stress to keep any carving well away from the printing area (small pieces get into the ink and ruin prints) --Pull a test print to see if any changes are needed (you can always carve more away, you can't put back) --Stress that good solid black prints are desired (without over inking) --Put fresh prints on the drying rack immediately, then re-ink and continue printing --Wash off the printing plate (and dry) as you finish printing daily --When the prints are dry they can be stored in a separate folder for each student SOME HELPFUL HINTS |
|
|
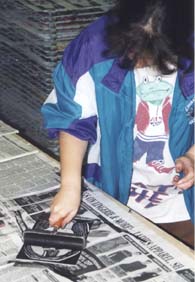
Liz Medina Inking Plate |
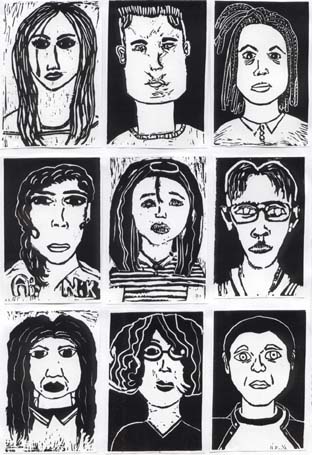
--When cutting linoleum, make a single straight shallow cut with a knife, then the material will break over a table edge --Cheap poster board, black railroad or the centers of larger mats work well to make mats for prints --Getting one matted print of "every" student on display is very important --Displays in a showcase allows the display of plates and tools along with the finished work --Putting the entire process on display provides a deeper understanding of the process |
|
--Experiment by trying to print on colored stock --Try printing with color inks --Try reworking some of the poor prints with pastel or watercolors --Color an area on the white paper first with chalk and then print over the chalk
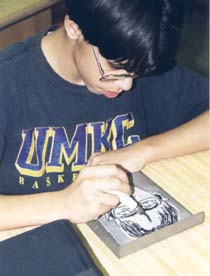
Eduardo Martinez Carving
|
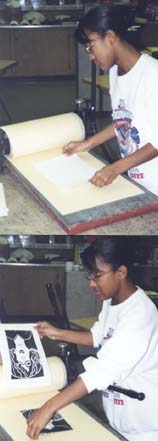
Cameo Foster Pulling a Print |
FOR PRINTING REFERENCES SEE COLLOGRAPH LESSON
click here to return to SELF-PORTRAIT PRINTMAKING Page 1
click here to return to www.taospaint.com HOME PAGE